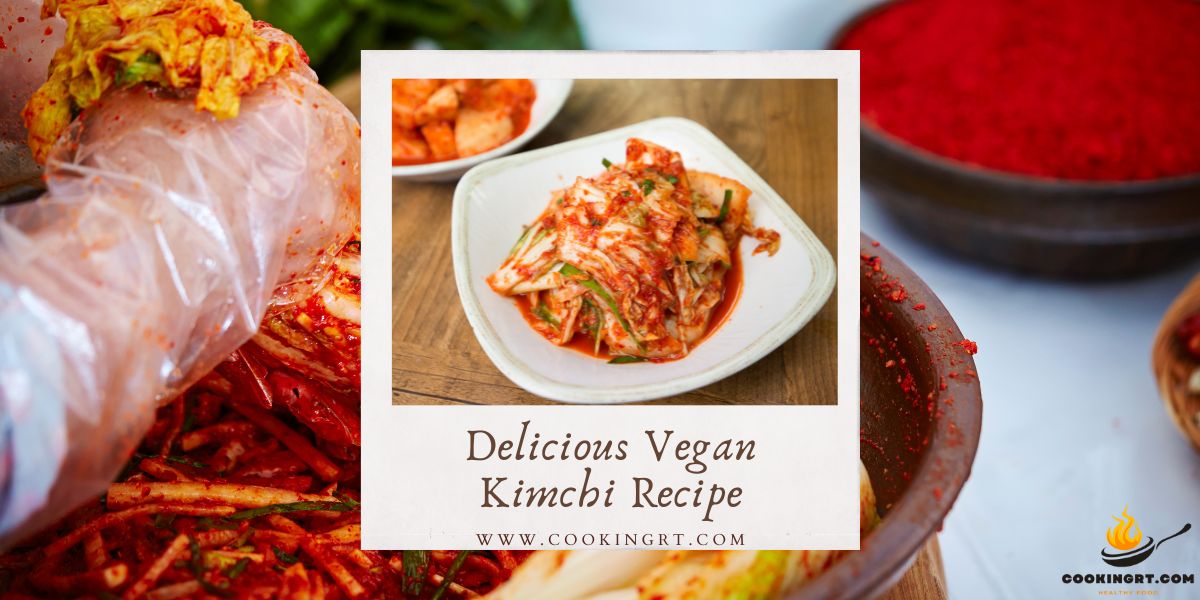
Vegan kimchi is a traditional Korean dish made from fermented vegetables, typically Napa cabbage and Korean radishes, seasoned with a mix of spices. Known for its tangy, spicy, and umami flavors, it’s a staple in Korean cuisine and is celebrated for its rich taste and probiotic qualities. By making a vegan version, you can enjoy this beloved dish without the use of fish sauce or shrimp paste, making it accessible for those following plant-based diets or with seafood allergies. This alternative not only maintains the authentic flavors but also encourages creativity with seasonings.
Nutritionally, vegan kimchi is packed with probiotics that support gut health, while the vegetables provide fiber, vitamins (especially C and K), and antioxidants. Overall, a well-crafted vegan kimchi recipe offers a delicious, vegetarian recipes nutritious option that can enhance various meals while delivering a host of health benefits.
Vegan Kimchi Ingredients
To make a delicious vegan kimchi, gather the following ingredients:
Essential Ingredients:
| Ingredients | Quantity | Notes |
|---|
| Napa Cabbage | 1 medium head | Core and cut into quarters or halves. |
| Korean Radish (Daikon) | 1 small | Julienned; can substitute with regular radish if needed. |
| Carrots | 1 medium | Julienned; adds sweetness and color. |
| Garlic | 6-8 cloves | Minced; essential for flavor. |
| Ginger | 1-inch piece | Grated; adds warmth and depth. |
| Green Onions | 4-5 | Chopped; for garnish and flavor. |
| Red Pepper Flakes (Gochugaru) | ¼ to ½ cup | Adjust according to spice preference. |
| Soy Sauce (or Tamari) | ¼ cup | Use tamari for gluten-free option. |
| Sugar | 1 tablespoon | Optional; helps with fermentation. |
| Salt | 1 cup | For salting the cabbage. |
Tips on Finding Vegan-Friendly Substitutes:
- Fish Sauce Alternative: Instead of fish sauce, use soy sauce or a mixture of soy sauce and a bit of seaweed for umami flavor. Some brands offer healthy vegan recipes fish sauce made from fermented ingredients.
- Red Pepper Flakes: Look for Korean gochugaru, which is essential for authentic flavor. If unavailable, you can use regular red pepper flakes, but it may alter the taste.
- Sugar: Use cane sugar or maple syrup as a sweetener.
Optional Ingredients for Personalizing Your Kimchi:
- Other Vegetables: Consider adding ingredients like cucumbers, bell peppers, or bok choy for a different texture and flavor.
- Fruits: Some people enjoy adding fruits like apple or pear for a hint of sweetness.
- Sesame Seeds: For added crunch and flavor, sprinkle some toasted sesame seeds before serving.
- Nuts or Seeds: Chopped nuts (like walnuts) or seeds (like sunflower seeds) can be added for extra texture.
Essential Tools for Making Kimchi

To successfully make your vegan kimchi, you’ll need a few essential kitchen tools. Here’s a list of what you’ll need and how each tool contributes to the process:
- Mixing Bowls: A large mixing bowl is essential for combining the vegetables and kimchi paste. It allows for easy tossing, ensuring all ingredients are evenly coated.
- Cutting Boards: A sturdy cutting board is necessary for chopping and preparing your vegetables. It provides a safe surface for slicing and dicing, making the prep work easier.
- Knife: A sharp knife is crucial for cutting the cabbage and other vegetables. It ensures uniform pieces, which is important for even fermentation.
- Measuring Cups and Spoons: Accurate measurements are vital for ingredients like salt, soy sauce, and spices. These tools help you achieve the perfect flavor balance in your kimchi.
- Gloves: Wearing gloves is recommended when mixing the kimchi paste with your hands. This protects your skin from the spice and helps maintain hygiene.
- Fermentation Jars: Glass jars are ideal for storing kimchi during fermentation. They are non-reactive and allow you to monitor the fermentation process. Ensure the jars have tight-fitting lids to maintain an anaerobic environment.
- Weight or Fermentation Weight: If using a fermentation jar, a weight helps keep the vegetables submerged in the brine, ensuring even fermentation and preventing spoilage.
- Spoon or Spatula: A non-metallic spoon or spatula is useful for mixing the vegetables with the kimchi paste and transferring the mixture into fermentation jars. This helps avoid reactions with the acidic environment of the kimchi.
Also, Read More: A Radiant Kimono Party Experience
Preparing the Vegetables
Properly preparing the vegetables is key to making delicious vegan kimchi. Here’s a step-by-step guide on cutting and salting the Napa cabbage, along with instructions for prepping other vegetables like radishes and carrots.
Step-by-Step Guide for Napa Cabbage
Wash the Napa Cabbage: Rinse the cabbage under cold running water to remove any dirt or impurities.
Cut the Cabbage:
- Place the cabbage on a cutting board.
- Cut it in half lengthwise, then cut each half into quarters. You can also cut the cabbage into smaller bite-sized pieces if preferred.
Salt the Cabbage:
- In a large mixing bowl, dissolve 1 cup of salt in enough water to fully submerge the cabbage.
- Add the cabbage pieces to the salted water, ensuring they are completely submerged. You can weigh it down with a plate if needed.
- Let the cabbage soak for about 1-2 hours, turning occasionally. This process draws out moisture and softens the leaves.
Rinse and Drain:
- After soaking, rinse the cabbage thoroughly under cold water to remove excess salt.
- Drain the cabbage in a colander, allowing it to sit for about 10-15 minutes to remove any remaining water.
Instructions for Prepping Other Vegetables
Korean Radish (or Daikon):
- Peel the radish and cut it into thin strips or matchsticks (julienne).
- Place the prepared radish in a bowl and sprinkle a pinch of salt over it. Let it sit for about 10-15 minutes, then rinse and drain. This helps enhance the flavor and texture.
Carrots:
- Peel the carrot and cut it into thin strips or matchsticks (julienne), similar to the radish.
- You can also use a grater for a finer texture if desired. No salting is necessary for the carrots, but you can mix them with the salted radish for extra flavor.
Green Onions:
- Trim the root ends and any wilted green parts.
- Cut them into 1-2 inch pieces for easy mixing with the other vegetables.
Making the Kimchi Paste

The kimchi paste is the essence of your vegan kimchi, infusing the vegetables with bold flavors and ensuring a delicious final product. Here’s a detailed explanation of each ingredient, tips for adjusting spice levels, and step-by-step instructions for blending everything together smoothly.
Ingredients for the Kimchi Paste
Garlic: 6-8 cloves, minced
Garlic is a cornerstone of kimchi paste, contributing a robust flavor and aroma. It has antimicrobial properties and is known for its health benefits, including supporting heart health and boosting immunity. When mincing garlic, aim for a fine consistency to ensure it blends well with the other ingredients and releases its full flavor during fermentation.
Ginger: 1-inch piece, grated
Fresh ginger adds a zesty warmth and slight spiciness that complements the garlic. It’s also packed with anti-inflammatory properties and aids digestion. When grating ginger, use a microplane or fine grater to achieve a smooth texture that will easily mix into the paste.
Red Pepper Flakes (Gochugaru): ¼ to ½ cup
Gochugaru is essential for authentic kimchi flavor. It has a unique profile that is smoky, sweet, and spicy, providing the characteristic red color of kimchi. The spice level can vary between brands, so consider tasting a bit before adding it to your paste. Adjust the amount based on your personal heat preference. If you like it spicy, feel free to add more!
Soy Sauce: ¼ cup
Soy sauce provides umami depth and saltiness, balancing the flavors in your kimchi paste. It also helps with fermentation, enhancing the complexity of the final product. For a gluten-free version, substitute soy sauce with tamari. If you’re looking for a lower-sodium option, consider using low-sodium soy sauce.
Sugar: 1 tablespoon (optional)
While optional, sugar helps to balance the spiciness and acidity of the kimchi. It also aids in fermentation by providing food for the beneficial bacteria. You can use cane sugar, brown sugar, or even maple syrup for a natural sweetener. Adjust the amount based on your preference; some may prefer to omit sugar altogether.
Water: ½ cup (or as needed)
Water is used to achieve the desired consistency of the paste. It helps blend the ingredients smoothly, allowing the flavors to meld together. The amount of water can be adjusted depending on how thick or thin you want your paste to be.
Tips on Adjusting Spice Levels
Start with Less: If you’re new to spicy foods or unsure about your tolerance, start with a smaller amount of gochugaru (¼ cup) and gradually increase it after tasting. You can always add more spice, but it’s hard to reduce it once mixed in.
Incorporate Other Spices: If you want to diversify the flavor profile without adding too much heat, consider incorporating other spices like ground black pepper or a dash of paprika for sweetness.
Use Fresh Ingredients: Fresh garlic and ginger will provide a more vibrant flavor than dried or powdered forms, which can also affect the spice and overall taste.
Taste as You Go: After blending the paste, taste it. If it lacks spice, best vegan recipes add more gochugaru incrementally. Remember that the fermentation process can mellow out the heat, so you may want it spicier than you think initially.
How to Blend Everything Together Smoothly
Prepare Your Ingredients:
- Start by mincing the garlic and grating the ginger. This can be done using a knife or a grater. Ensure that both ingredients are finely minced or grated for a smooth paste.
Combine Ingredients in a Bowl:
- In a mixing bowl, combine the minced garlic, grated ginger, gochugaru, soy sauce, and optional sugar. This will allow you to mix the ingredients before blending.
Add Water Gradually:
- Pour in about ½ cup of water. This will help the ingredients blend together smoothly and create a spreadable paste. If your blender or food processor is large enough, you can add all ingredients directly.
Blend Until Smooth:
- If using a blender or food processor, blend the mixture until it reaches a smooth consistency. You may need to stop and scrape down the sides to ensure everything is well combined. If the paste is too thick, add more water a tablespoon at a time until you achieve your desired consistency.
Check the Consistency:
- The paste should be thick enough to coat the vegetables without being too runny. It should easily cling to the cabbage and other vegetables when mixed.
Taste and Adjust:
- Before using the paste, take a moment to taste it. Adjust the flavors if necessary—add more soy sauce for saltiness, sugar for sweetness, or gochugaru for spice. This is your chance to make it perfect!
Also, Read More: A Cheesy Ramen Recipe That Will Melt Your Taste Buds
Combining the Vegetables and Paste
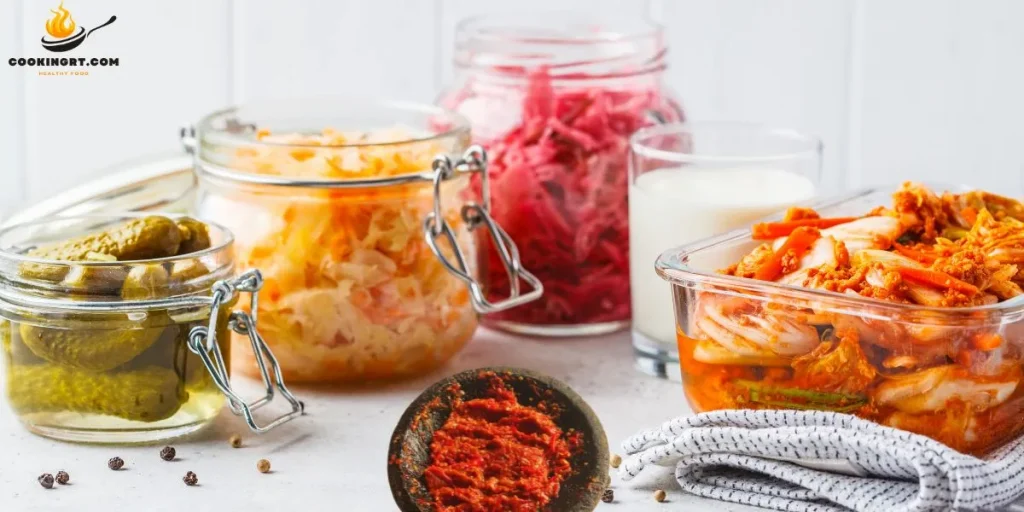
Once your vegan kimchi paste is ready, it’s time to mix it with the prepared vegetables. Properly combining these ingredients ensures that every piece is infused with flavor. Here’s how to mix the vegetables with the paste evenly, along with important tips for handling and massaging the vegetables.
How to Mix the Vegetables with the Paste Evenly
To create a delicious vegan kimchi, it’s essential to ensure that the vegetables are evenly coated with the kimchi paste. An even distribution of paste not only enhances the flavor but also contributes to the overall texture and fermentation process.
Prepare a Large Mixing Bowl:
- Choose a large mixing bowl to provide enough space for the vegetables and paste. This will make it easier to combine everything without spilling.
Add the Prepared Vegetables:
- Place the drained Napa cabbage, julienned radishes, carrots, and chopped green onions into the mixing bowl. Make sure the vegetables are well-drained from any excess water after rinsing and salting.
Scoop in the Kimchi Paste:
- Use a spatula or spoon to scoop the prepared kimchi paste onto the vegetables. Start with a generous amount, as you can always add more later if needed.
Mix Using Your Hands:
- Put on Gloves: It’s highly recommended to wear disposable gloves to protect your hands from the spice and to maintain hygiene.
- Toss Gently: With gloved hands, begin to gently toss the vegetables with the paste. Use a folding motion, lifting the vegetables from the bottom and turning them over, ensuring the paste evenly coats everything.
- Be Thorough: Continue mixing until all the vegetables are fully coated with the paste. This may take a few minutes, so be patient and thorough.
Important Tips on Handling and Massaging the Vegetables
Handling and massaging the vegetables is a critical step in the kimchi-making process. This technique not only helps to evenly distribute the paste but also aids in the fermentation process by breaking down the cell walls of the cabbage.
Massage the Vegetables:
- As you mix, gently massage the vegetables. This involves squeezing and pressing the cabbage and other vegetables with your hands. This action helps to break down the cell walls of the cabbage, allowing it to release its moisture and absorb the flavors from the paste.
- This step is crucial for ensuring a good texture and flavor in your kimchi. It also encourages the fermentation process by creating an environment for the beneficial bacteria.
Check for Even Coating:
- After mixing, make sure there are no clumps of paste left and that all pieces are well-coated. The vegetables should look vibrant and glistening from the paste.
Avoid Overmixing:
- While it’s important to coat the vegetables evenly, be careful not to overmix or crush them too much, as this can lead to a mushy texture. Gentle handling is key.
Taste and Adjust:
- Before transferring the kimchi to jars, taste a small amount. This is a great opportunity to adjust the flavor if needed—add more paste if it’s not spicy enough or adjust seasoning as per your preference.
Transfer to Fermentation Jars:
- Once everything is well combined, transfer the kimchi mixture into clean, sterilized fermentation jars. Pack it tightly, pressing down to remove any air bubbles and ensure the mixture is submerged in its own brine.
Leave Room for Fermentation:
- Leave about an inch of headspace at the top of the jars to allow for expansion during fermentation. This will prevent overflow as the kimchi ferments.
Fermentation Process
The fermentation process is key to developing the unique flavors and health benefits of your vegan kimchi. To ensure a successful fermentation, it’s important to store the kimchi properly. Use clean, sterilized glass jars or fermentation crocks, as these containers help preserve the kimchi while allowing you to monitor the fermentation process. When packing the kimchi, be sure to tightly press the vegetables into the jar to remove any air pockets and ensure that everything is submerged in its own brine. Leave about an inch of space at the top of the jar for expansion during fermentation. Lightly seal the jar to allow gases to escape, and store it in a cool, dark place away from direct sunlight.
The ideal temperature for fermenting kimchi is between 60°F to 75°F (15°C to 24°C). Within this range, beneficial bacteria flourish, and the kimchi develops its distinctive tangy flavor. Depending on your taste preferences, fermentation can take anywhere from 1 to 5 days. Warmer temperatures will speed up the fermentation process, while cooler temperatures will slow it down. Check your kimchi daily to see how the flavor evolves. A shorter fermentation period will result in a fresher, milder taste, while a longer fermentation time creates a deeper, more complex flavor.
Knowing when your vegetarian kimchi is ready involves paying attention to its visual and textural changes. As it ferments, you may notice bubbles and a slight effervescence—these are signs that the fermentation is progressing. The vegetables will soften but should still maintain some crunch, and the color of the kimchi will become more vibrant. The best way to tell if it’s ready is through a taste test. The kimchi should be tangy, slightly spicy, and full of flavor. If it’s still too mild, let it ferment longer.
Once your kimchi reaches the desired flavor, transfer it to the refrigerator to slow down the fermentation process. This will allow you to enjoy your kimchi over a longer period without it becoming overly sour.
Storing and Enjoying Your Vegan Kimchi

After your vegan kimchi has reached the perfect flavor, it’s crucial to store it properly for long-term enjoyment. The best way to store kimchi is in the refrigerator, using airtight containers such as glass jars or plastic containers with tight-fitting lids. This prevents exposure to air, which can lead to spoilage, and helps maintain the crispness of the vegetables. You can also freeze kimchi for extended storage, but be aware that freezing may affect the texture slightly. Stored in the fridge, kimchi can last several months while continuing to ferment slowly.
How the Flavor Changes Over Time
The flavor of kimchi continues to develop even after it’s refrigerated. In the first few weeks, the taste will be fresh and crisp with a mild tang. As it sits longer, the kimchi will become more sour and pungent, with deeper, more intense flavors. This change is part of the traditional appeal of kimchi, as many people enjoy its robust, aged flavor in stews or as a powerful side dish. However, if you prefer a milder taste, it’s best to consume your kimchi within the first month of refrigeration before the flavors become too strong.
Serving Suggestions for Different Meals
Vegan kimchi is a versatile addition to a wide variety of meals. Enjoy it as a simple side dish or combine it with rice for a classic pairing. You can add it to stir-fries, salads, and even sandwiches to bring a unique, tangy kick to the dish. Kimchi works well in soups and stews, adding depth to the flavor, especially as it ferments longer. For breakfast, try incorporating kimchi into scrambled tofu or as a topping for vegan dishes burgers, tacos, or wraps. The balance of spice, sourness, and crunch makes kimchi an exciting complement to many dishes!
Also, Read More: How To Cook Beef Ribs?
Troubleshooting Common Issues
While making vegan kimchi is generally straightforward, there are a few common issues that can arise during the process. If your kimchi turns out too salty, too sour, or you’re concerned about its freshness, don’t worry! Here are some simple tips for fixing these problems and ensuring your kimchi recipe is safe to eat.
Tips for Fixing Overly Salty or Too-Sour Kimchi
Overly Salty Kimchi:
- If your kimchi is too salty, one quick fix is to rinse some of the kimchi in cold water before serving. This can help reduce the saltiness for immediate use. However, if the whole batch is too salty, you can adjust future servings by mixing it with fresh, unsalted vegetables like Napa cabbage or radishes. This will help dilute the salt content over time as the fresh veggies absorb some of the flavor.
Too-Sour Kimchi:
- Kimchi becomes sourer the longer it ferments, and while some people enjoy the tangy, sour flavor, it can sometimes be too intense. To tone down overly sour kimchi, try cooking it! Sour kimchi works perfectly in kimchi stews (kimchi jjigae) or fried rice, where the sourness is balanced by other ingredients. If you prefer eating it fresh, mix it with a bit of sugar or add a small amount of fresh kimchi to balance out the sourness.
How to Spot if Your Kimchi Has Gone Bad
Even though kimchi is a fermented food and designed to last, it can still go bad if not stored properly. Here are a few key signs to watch for:
Unpleasant Smell:
- Kimchi should have a tangy, fermented smell, but if it develops a strong, foul odor (especially like rotten vegetables or ammonia), it may have spoiled. Trust your nose—if it smells off, it’s best to discard it.
Mold Growth:
- If you see mold on the surface of the kimchi or inside the jar, this is a sign that it’s gone bad. Mold typically appears as white, green, or black spots. Even though it might be tempting to just scrape off the top, it’s safer to discard the entire batch if mold is present.
Unusual Texture:
- While kimchi softens as it ferments, it should still have some texture. If the vegetables become excessively mushy or slimy, this could indicate spoilage.
Strange Color:
- Kimchi naturally changes color during fermentation, becoming a deeper red or orange. However, if you notice unusual discoloration like gray or brown spots, it’s time to throw it out.
Conclusion
Making your own Delicious Vegan Kimchi Recipe is not only simple but also a rewarding way to enjoy the authentic flavors of Korean cuisine in a plant-based version. This recipe invites you to unleash your creativity in the kitchen, allowing you to customize the spice levels and ingredients to suit your taste preferences.
The fermentation process not only enhances the flavor but also adds a range of health benefits, from improved digestion to boosted immunity. Whether you enjoy it on its own, as a side dish, or incorporated into various meals, this kimchi will elevate any dining experience.
By mastering this Vegan Kimchi Recipe, you can impress your friends and family with your culinary skills while introducing them to the rich tradition of kimchi-making. Plus, you’ll have a fresh supply of this vibrant, probiotic-rich condiment to enhance your meals for weeks to come. So gather your ingredients, follow the steps, find vegetarian recipes and indulge in the satisfaction of creating your very own Vegan Kimchi Recipe—a dish that embodies both flavor and health!
Q: What is vegan kimchi?
Ans: Vegan kimchi is a plant-based version of traditional Korean kimchi, made without fish sauce or any animal products. It typically includes fermented vegetables like napa cabbage and Korean radish, seasoned with spices.
Q: How long does homemade vegan kimchi last?
Ans: When stored in an airtight container in the refrigerator, homemade vegan kimchi can last for about 1 to 3 months. The flavor intensifies as it ferments.
Q: What spices are commonly used in vegan kimchi?
Ans: Common spices include gochugaru (Korean red pepper flakes), garlic, ginger, and sesame seeds. You can adjust the spice levels to your liking.
Q: Is vegan kimchi healthy?
Ans: Yes, vegan kimchi is rich in nutrients, vitamins, and probiotics, which can aid digestion and boost the immune system.
Q: Can I make vegan kimchi spicy?
Ans: Absolutely! You can adjust the spiciness by adding more gochugaru or other spicy ingredients to suit your taste.
Q: How do I serve vegan kimchi?
Ans: Vegan kimchi can be served as a side dish, added to rice bowls, stir-fries, or used as a topping for tacos and burgers.

